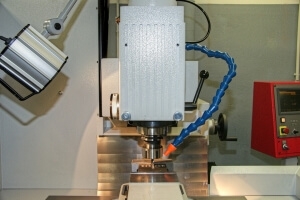
One of the biggest sources of inaccuracies in machining process is human involvement. Apart from the operator intervention, the processing strategy that one programmer employs can differ from one to another. This can cause another source for variation. This is where CNC machining in Toronto becomes very important to make this aspect more consistent.
Automation at the machine tool can take various forms offering great possibilities.
These include the following:
A built-in fixture may come with a feature that can identify the number of parts it can hold. This identification made will then be used by the CNC machine to validate if the program used to machine the part is right for the job. This setup can significantly help prevent a costly error to occur. The built-in feature can take any form that the CNC machine can read. It may be a barcode or something that has gone through probing. Take for instance those fixtures with varying identifier hole diameters that enable the measurement of the CNC machine of those hole diameters and tell it which specific program number to run.
Another feature like a tooling ball can also be added to the fixture which can help create the reference points on the fixture for the job. Then the program can already integrate the probing routine to identify and locate the feature before CNC machining in Toronto can begin. In this way, there’s no need for the operator to do manual measurement and entry of the part offset data.
Apart from identifying and locating parts prior to cutting, another great thing that the machine tool probe can do is to inspect the part during the actual CNC machining in Toronto. This capability of doing an inspection of its own work would enable it to detect any errors caused by tool damage using the probe. Knowing this error even before the work ends and leaves the machine will make it easy to resolve it. It may also be possible for the probing to correct such error automatically as part of the program.